ESP32 101: A Beginner’s Guide to IoT Fun
Getting started with the tiny Wi-Fi-powered board that can do it all

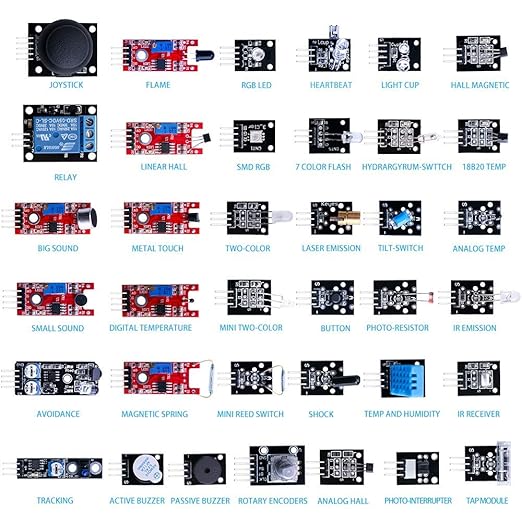
I’ve been programming for a while now, mostly in the world of software. But embedded systems and IoT were things I never really got a chance to explore during my bachelors or masters. Recently, I decided to change that — I got myself an ESP32 board, a set of jumper wires, and a 32-in-1 sensor kit.
I always had some interest towards it. Thought of it as something simple enough that even a curious 10-year-old could have fun with it, so i just had to try it at some point even if at small scale. This post is my introduction to ESP32 — written for anyone, even if you’re not a “tech person.”
What is ESP32?
The ESP32 is a tiny microcontroller — think of it as a miniature computer on a chip. Ofcourse its not meant to support enterpise level application like a computer but it still useful for programming home automation to drone.
Why ESP32 is So Popular
There are many microcontrollers out there, but ESP32 stands out because:
- It has Wi-Fi and Bluetooth built in.
- It’s affordable — usually under ₹500.
- It’s powerful, with a dual-core processor and enough memory for real projects.
- It has lots of pins for connecting multiple sensors and devices.
- There’s a huge global community and endless tutorials online.
How Do You Use It?
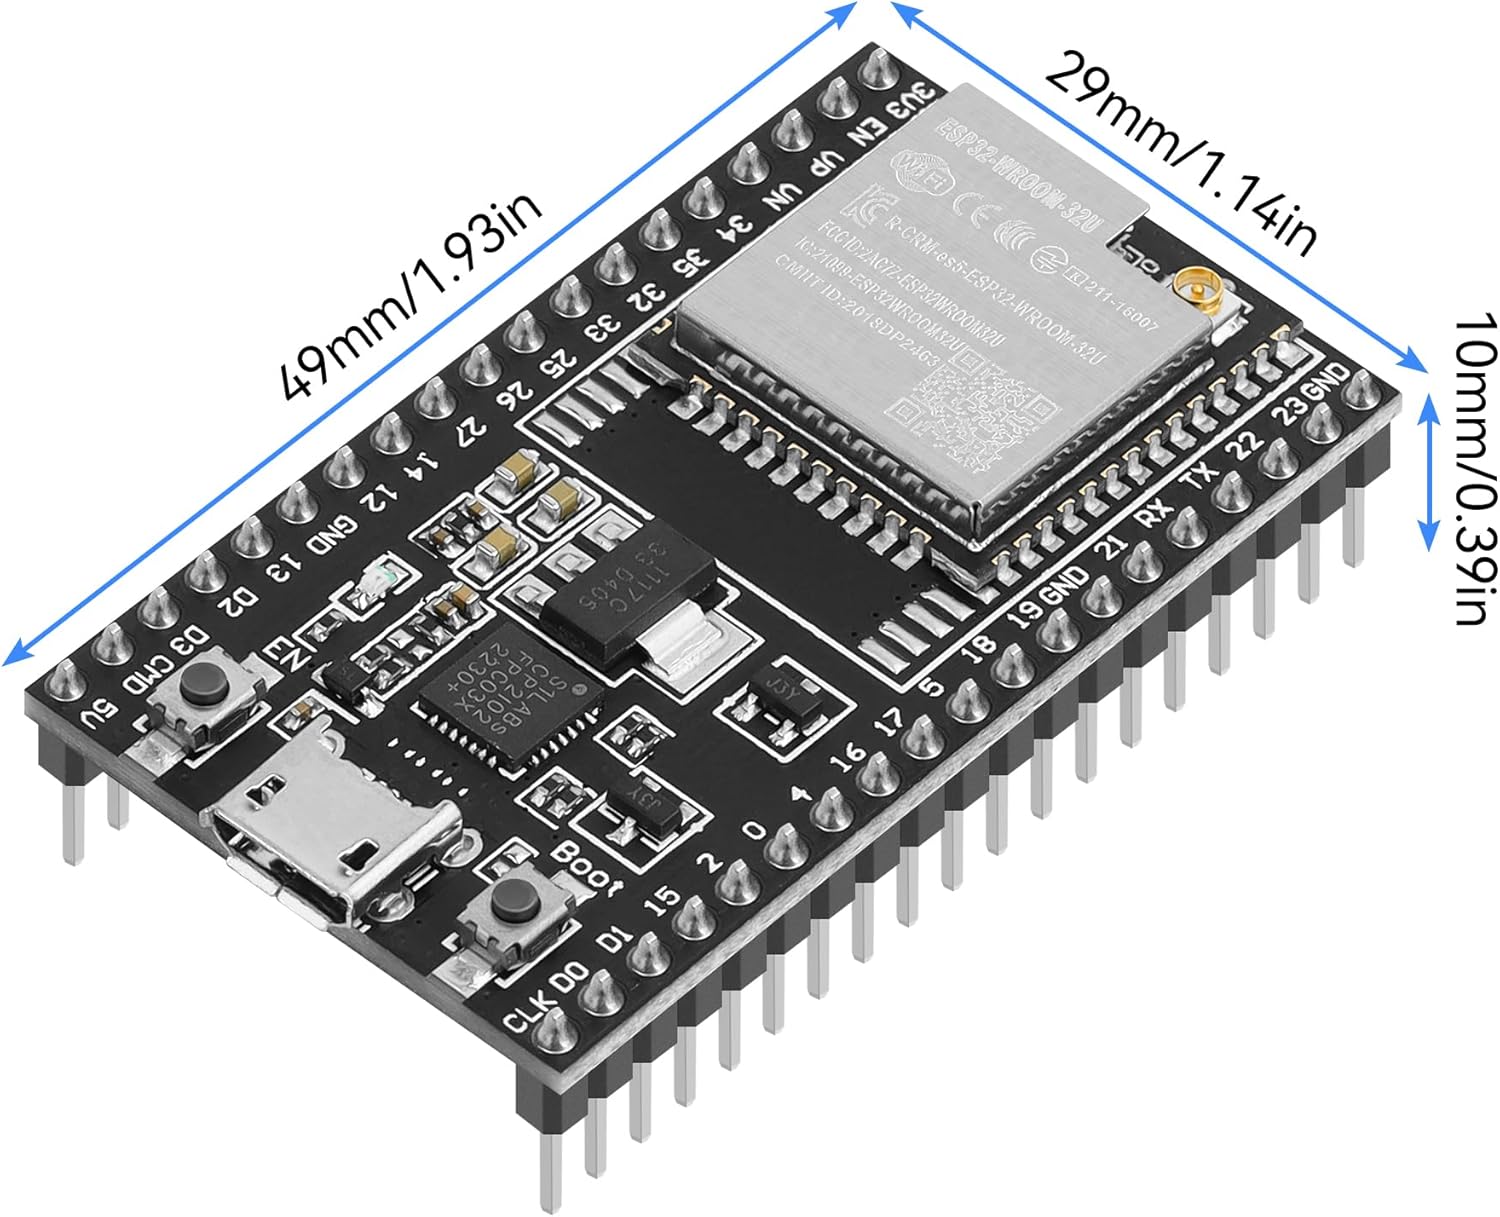
At first glance, the ESP32 dev board looks like a small rectangle with a USB port and two rows of pins. But here’s the basic workflow:
- Plug it into your computer with a USB cable.
- Write code (using Arduino IDE or PlatformIO).
- Upload the code to the board.
- Watch the ESP32 bring your instructions to life.
That’s the magic: in just a few steps, you can make real-world things happen with just a few lines of code.
Let’s Look a Little Deeper
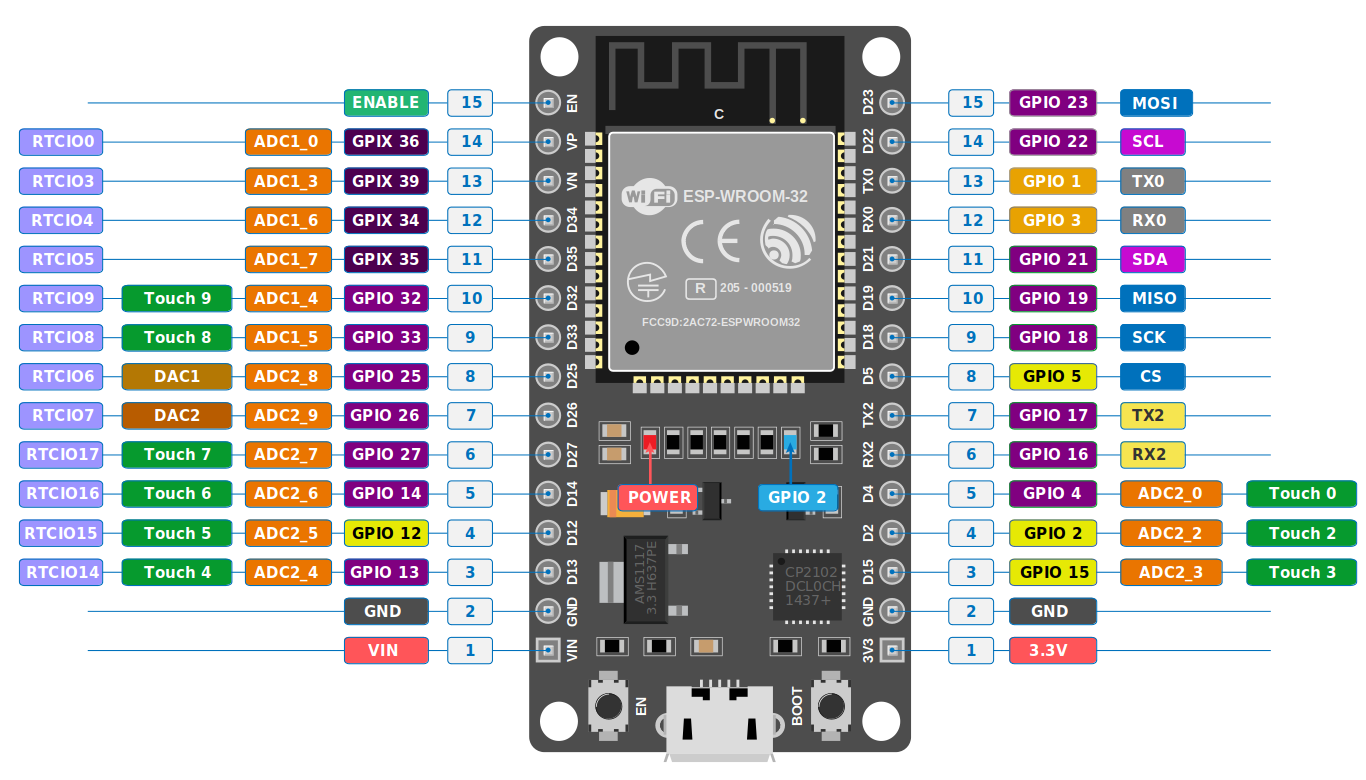
Once you’ve got your ESP32 board, a few jumper wires, and a sensor kit, the real magic begins. Under the hood, the ESP32 isn’t just a simple chip — it’s a dual-core microcontroller with built-in Wi-Fi and Bluetooth radios, hundreds of kilobytes of SRAM, and plenty of I/O pins (called GPIOs) that let it sense, control, and communicate with the world around it.
It even runs a lightweight operating system called FreeRTOS, which lets it handle multiple tasks at once — for example, reading sensor data while maintaining a Wi-Fi connection or updating a display. Many of its pins can switch roles dynamically: one moment they’re reading analog signals (through the ADC), and the next they’re sending control signals to LEDs, motors, or relays.
With just a few lines of code, you can make the ESP32 do a surprising amount:
- Blink LEDs — the classic “Hello World” of electronics.
- Measure temperature, humidity, or motion using sensors.
- Send live readings to your phone or a cloud dashboard via Wi-Fi.
- Control devices from a web page or Bluetooth app.
- Experiment with multitasking, timers, and interrupts for more advanced projects.
It’s impressive how much power and flexibility you get from such a small, low-cost board — perfect for learning, prototyping, or even building real-world IoT systems.
Final Thoughts
ESP32 is cheap, powerful, and fun. It’s a fantastic way to step into the world of electronics and IoT — whether you’re a seasoned programmer or just curious about how technology can interact with the real world.
In future posts, I’ll dive into actual projects using my 32-in-1 sensor kit — but for now, I hope this gives you a clear, friendly picture of what ESP32 is and why it’s worth trying.